Hawaiian Roll Garlic Bread is a delicious twist on the classic garlic bread that everyone knows and loves. It all started on a chilly evening when I was looking for something new to make with the Hawaiian rolls sitting in my pantry. I decided to turn them into garlic bread, combining the soft, sweet texture of the rolls with rich, savory garlic butter. As soon as the bread started baking, the mouthwatering aroma filled the kitchen, and I knew I had stumbled upon a new family favorite. Whether for dinner or as a side dish at gatherings, this simple yet indulgent treat has since become a go-to recipe in my home.
Table of Contents
Why Hawaiian Roll Garlic Bread?
Hawaiian roll garlic bread stands out from traditional garlic bread for several reasons. The soft, slightly sweet texture of Hawaiian rolls provides a perfect contrast to the rich, garlicky butter, creating a delightful balance of flavors. The sweetness of the rolls enhances the savory garlic, making each bite an irresistible combination. Plus, the pillowy softness of the rolls ensures a melt-in-your-mouth experience that’s hard to beat.
Unlike regular bread, which can sometimes be a bit too dense, Hawaiian rolls add a light, airy feel to this beloved side dish. Whether you’re serving it at a family dinner, holiday meal, or casual get-together, Hawaiian roll garlic bread is sure to become a favorite at the table. It’s the perfect addition to any meal, bringing a comforting sweetness and savory depth that everyone will love!
For another delicious side dish, try these Smoked Cheesy Potatoes that will complement your Hawaiian Roll Garlic Bread perfectly.
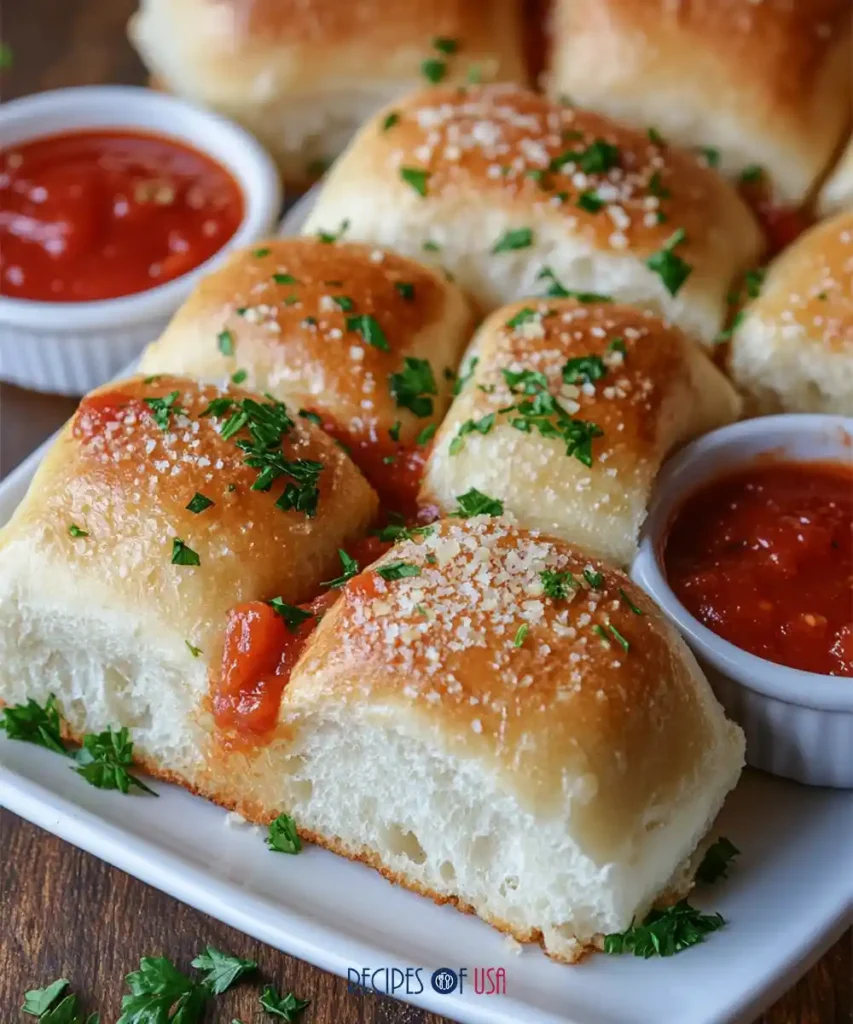
Ingredients You’ll Need
Basic Ingredients:
- 12 Hawaiian rolls (a soft, sweet variety)
- ½ cup unsalted butter (melted)
- 4 garlic cloves (minced)
- 1 tablespoon fresh parsley (chopped)
- Salt (to taste)
- ½ teaspoon garlic powder (optional)
Optional Ingredients for Extra Flavor:
- Grated Parmesan cheese
- Italian seasoning or oregano
- Crushed red pepper flakes (for added heat)
- Fresh basil (for garnish)
How to Make Hawaiian Roll Garlic Bread: A Simple Step-by-Step Process
1. Preparing the Hawaiian Rolls
Start by slicing your Hawaiian rolls horizontally. You can either keep them all together or separate each roll individually. Either way, the goal is to have a surface area to spread your garlic butter mixture evenly.
2. Garlic Butter Mixture
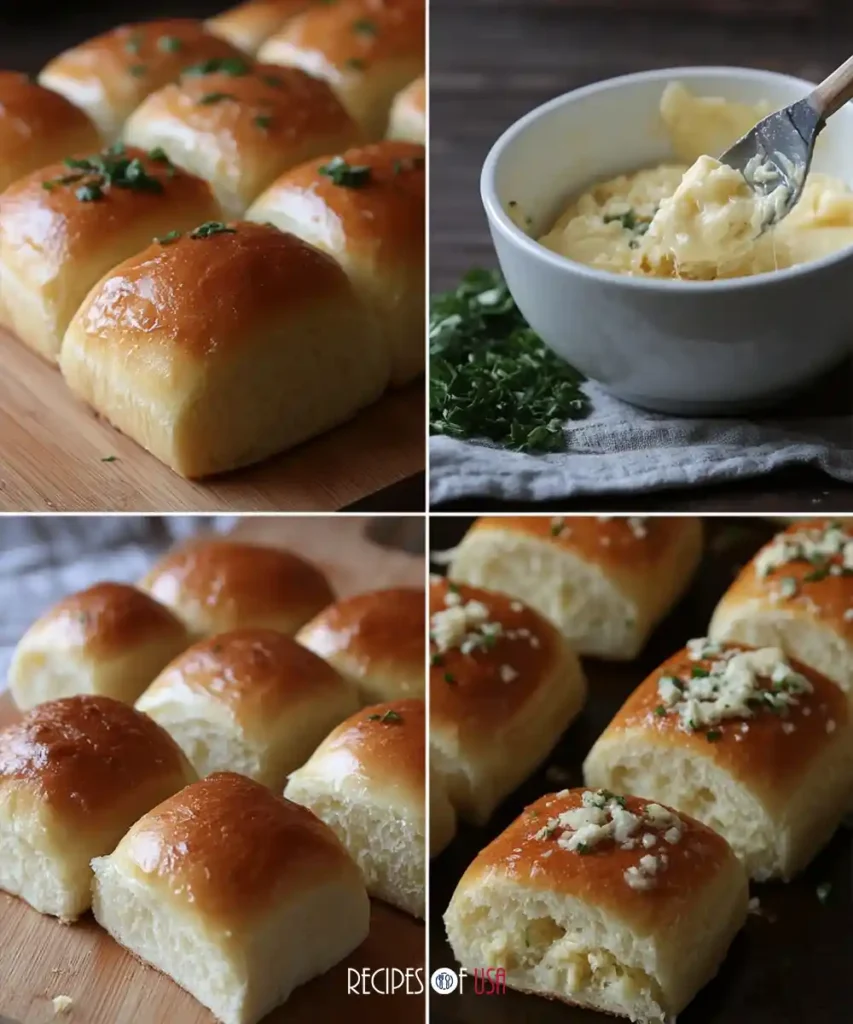
In a bowl, combine your melted butter with minced garlic and freshly chopped parsley. If you want to boost the garlic flavor, you can also add a pinch of garlic powder. Season with salt to taste. For those who like extra flavor, try mixing in grated Parmesan cheese or a sprinkle of Italian herbs.
3. Assembling the Bread
Arrange your sliced rolls on a baking sheet. Using a brush or spoon, apply the garlic butter mixture generously to the cut sides of each roll. Make sure every piece is well-coated to get the full garlicky flavor.
4. Baking Process
Preheat your oven to 350°F (175°C) and bake the rolls for 10-15 minutes or until the tops become golden brown and crispy. For an even crunchier result, place the rolls under the broiler for a few minutes. Monitor them closely to avoid burning.
Tips for Perfect Hawaiian Roll Garlic Bread
Choosing the Right Rolls:
The essence of this recipe lies in the Hawaiian rolls. The soft, sweet texture of Hawaiian rolls enhances the flavor of the garlic butter. While other rolls can be used, none provide the same balance of flavor.
Garlic and Herb Variations:
Feel free to personalize the garlic butter mix with different herbs. Fresh rosemary, thyme, or sage can bring new flavors to the bread. Experiment with different combinations to discover your favorite version!
Perfecting the Butter Mix:
For a great garlic bread, it’s important to have a well-balanced butter mix. Be sure your butter is melted completely and mixed well with the garlic. Adding the garlic powder and salt ensures a savory taste.
Serving Suggestions for Hawaiian Roll Garlic Bread
Pairing with Pasta Dishes:
This garlic bread pairs perfectly with pasta dishes. Whether you’re having spaghetti, lasagna, or a creamy Alfredo dish, the bread complements the richness of the sauce and adds texture to the meal.
Ideal for Dipping Sauces:
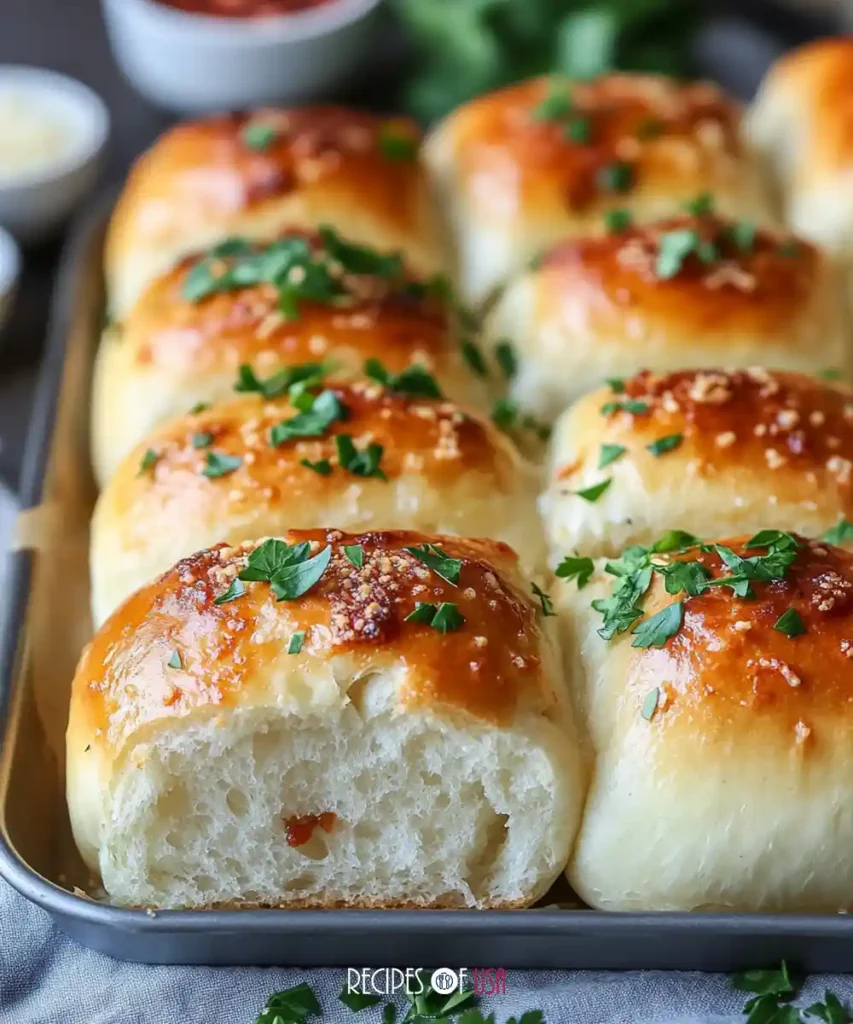
This garlic bread is great for dipping into sauces like marinara, Alfredo, or a homemade pesto. The soft bread soaks up the sauce, making each bite a savory experience.
As a Side Dish for Grilled Meats:
Enjoy this garlic bread as a side with grilled meats for a delicious balance of flavors. It pairs wonderfully with grilled chicken, steak, or even veggie burgers.
Healthier Alternatives for Hawaiian Roll Garlic Bread
If you’re aiming for a healthier version, here are some adjustments you can make:
Using Whole Wheat Rolls:
Swap out the Hawaiian rolls for whole wheat rolls to add fiber and nutrients to the bread. The texture may change, but it’s a healthier choice.
Low-fat Butter Substitutes:
You can replace regular butter with a low-fat alternative or even olive oil to reduce the fat content. Both options will still keep the bread rich and flavorful.
Vegetarian and Vegan Options:
For a vegan version, swap regular butter with a dairy-free alternative and use plant-based cheese instead of Parmesan. There are plenty of vegan cheese options that can provide a similar taste and texture to the original.
Storing and Reheating Leftover Hawaiian Roll Garlic Bread
Storing Leftovers:
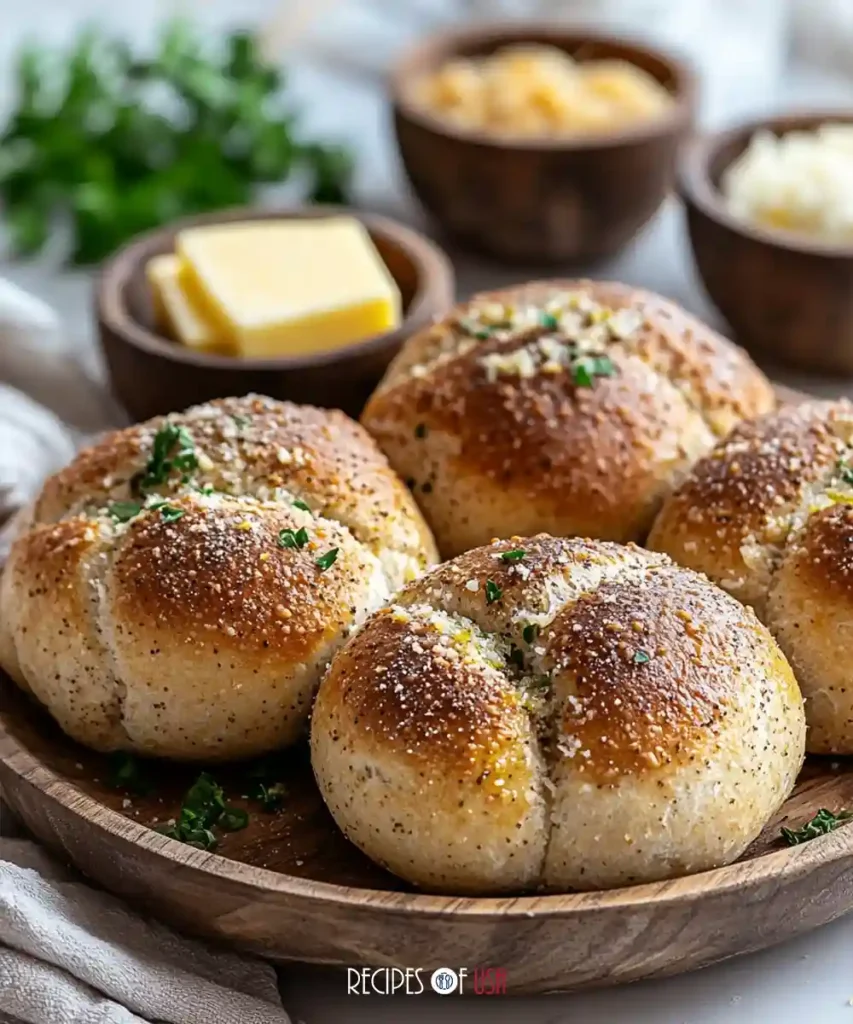
Once you’ve enjoyed your freshly made Hawaiian roll garlic bread, store any leftovers in an airtight container at room temperature for 2-3 days. Make sure it cools down fully before storing it.
Reheating Techniques for Freshness:
To restore freshness, reheat the garlic bread in a 350°F (175°C) oven for about 5-10 minutes until warm. If you like the top a bit crispier, you can toast it briefly under the broiler.
Conclusion
Incorporating Hawaiian roll garlic bread into your meals is a game-changer. The sweet, soft rolls combined with rich garlic butter create a perfectly balanced flavor that’s impossible to resist. Whether you’re serving it as a side with pasta, enjoying it as a snack, or pairing it with grilled meats, this garlic bread is sure to become a favorite. Easy to prepare and full of flavor, it’s a simple yet indulgent treat that will impress your family and friends every time. Give this recipe a try, and you’ll see why Hawaiian roll garlic bread is the ultimate comfort food!
For another twist on garlic bread, check out this Garlic Bread with Hawaiian Rolls recipe for even more delicious ideas.
FAQs
Can I Use Other Types of Rolls?
Yes! You can try other soft rolls like dinner rolls or brioche, but they won’t give the same sweet flavor that Hawaiian rolls do.
How Can I Make Garlic Bread Spicier?
To add some heat, mix crushed red pepper flakes into your garlic butter. You can use chili powder or cayenne pepper for a bolder heat.
Can I Make Hawaiian Roll Garlic Bread Ahead of Time?
Yes, you can prepare the garlic bread ahead of time and refrigerate it until ready to bake. This makes it an excellent choice for preparing meals in advance.
Is It Possible to Freeze Garlic Bread?
Yes, you can freeze the garlic bread once it’s baked. Wrap it in plastic wrap or foil and store it in the freezer for up to one month. Warm it up in the oven when you’re ready to enjoy it.
What Can I Pair This Bread With for a Complete Meal?
This bread pairs wonderfully with a variety of dishes. Pair it with pasta, soups, or fresh salads for a complete and satisfying meal. It’s also a great side for grilled meats.

Hawaiian Roll Garlic Bread
Equipment
- Oven
- Baking Sheet
Ingredients
Hawaiian Roll Garlic Bread
- 12 rolls Hawaiian rolls soft and sweet
- ½ cup unsalted butter melted
- 4 cloves garlic minced
- 1 tbsp fresh parsley chopped
- salt to taste
- ½ tsp garlic powder optional
- Parmesan cheese grated
- Italian seasoning or oregano for flavor
- crushed red pepper flakes for heat
- fresh basil for garnish
Instructions
- Start by slicing your Hawaiian rolls horizontally, either keeping them together or separating each roll individually for better coverage.
- In a bowl, combine the melted butter with minced garlic, parsley, salt, and optional garlic powder. Mix well to create the garlic butter mixture.
- Brush the garlic butter generously onto the cut sides of the Hawaiian rolls, making sure each piece is well-coated.
- Place the rolls on a baking sheet and bake in a preheated oven at 350°F (175°C) for 10-15 minutes until golden brown and crispy on top.
- If desired, finish under the broiler for an extra crispy top, but be sure to monitor them closely to avoid burning.

